-
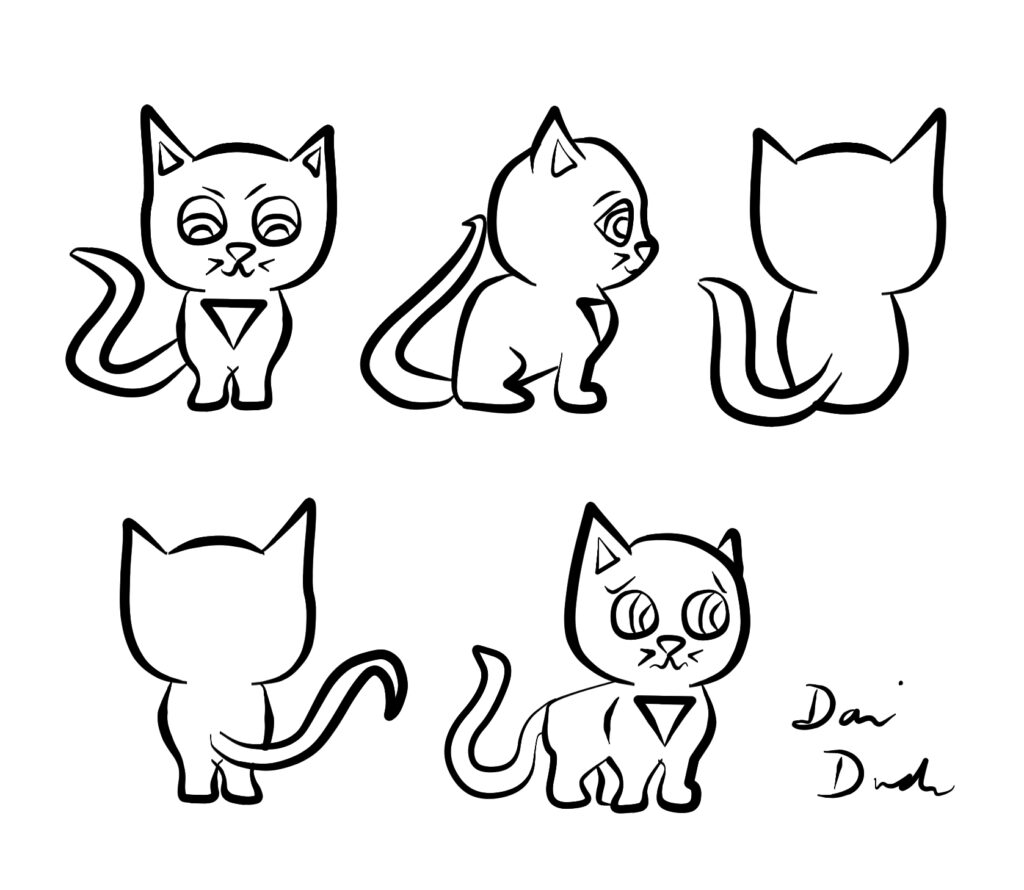
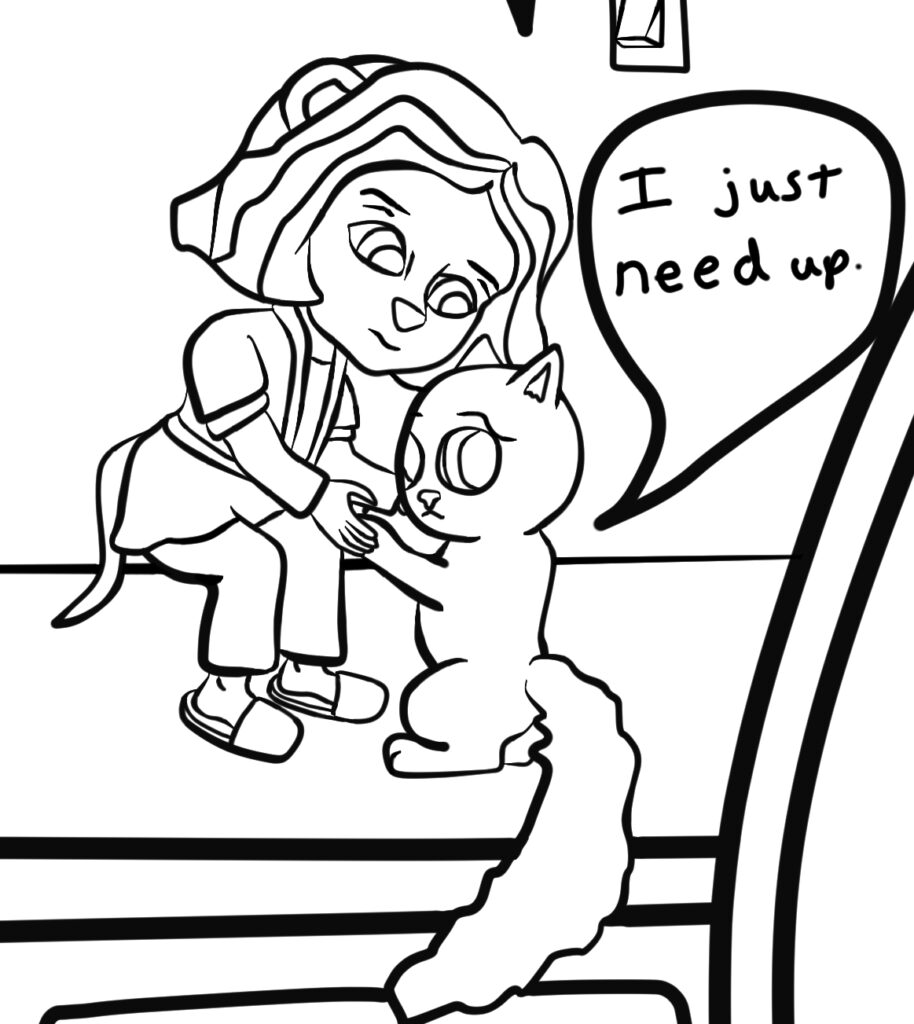
Emotions and Poses
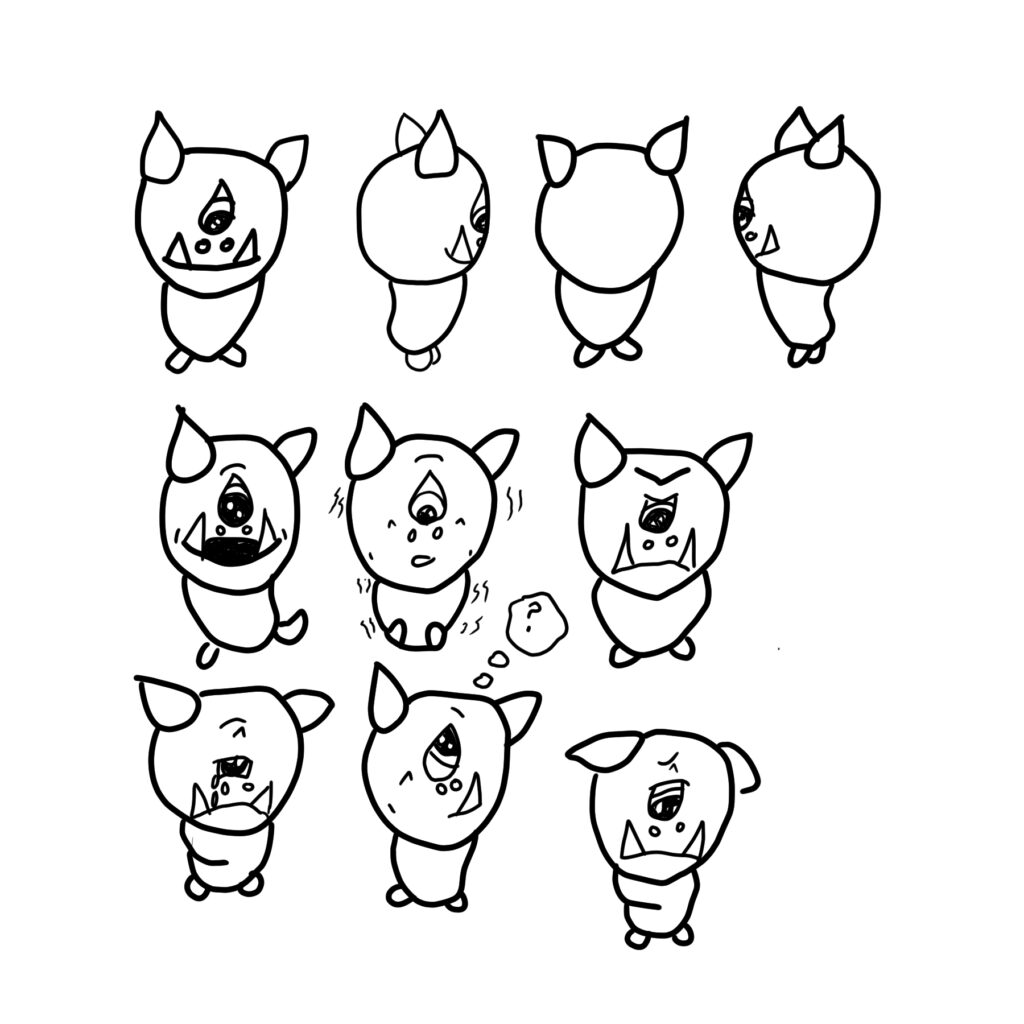
Example of a character in a bunch of diffrent poses. 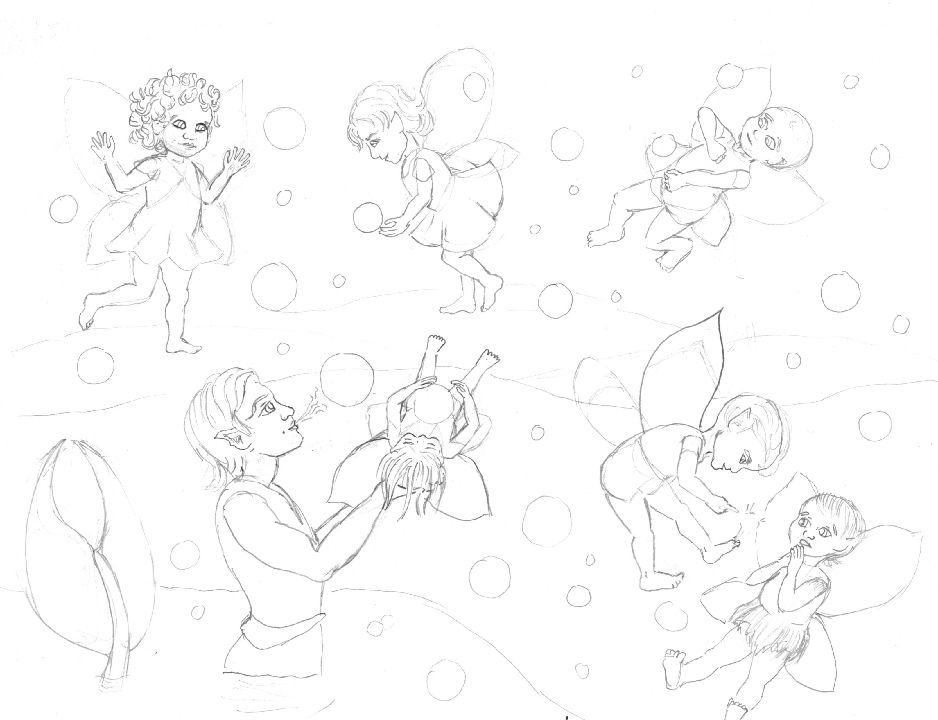
Fairy babies in different positions. -
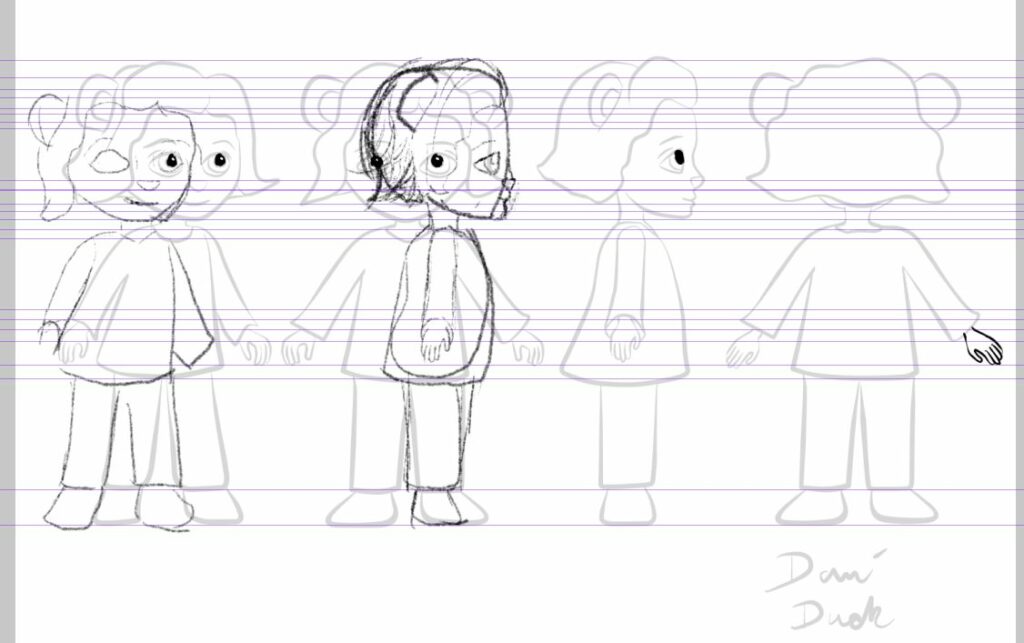
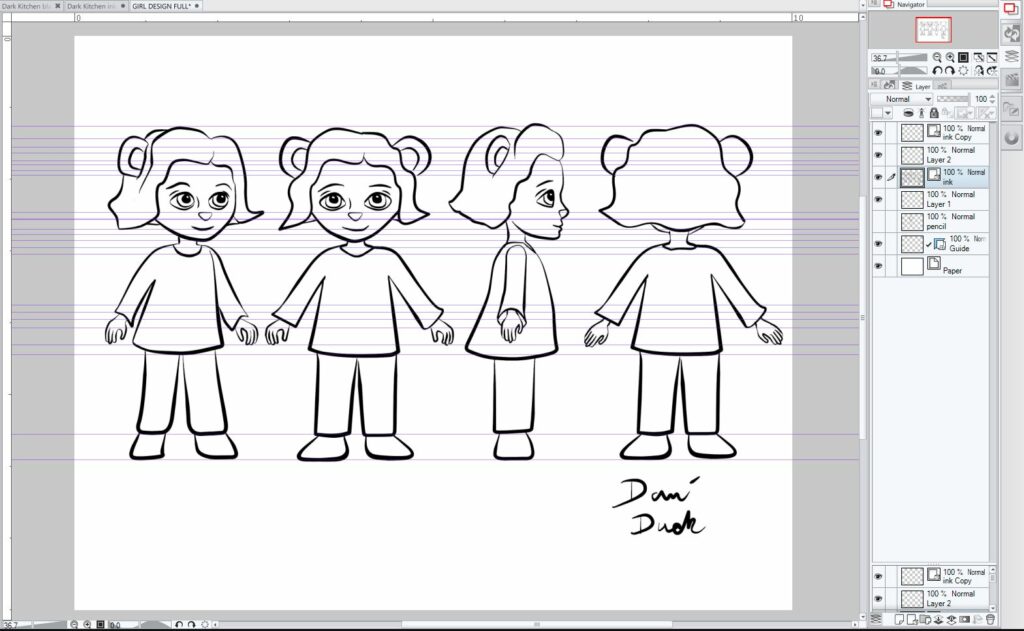
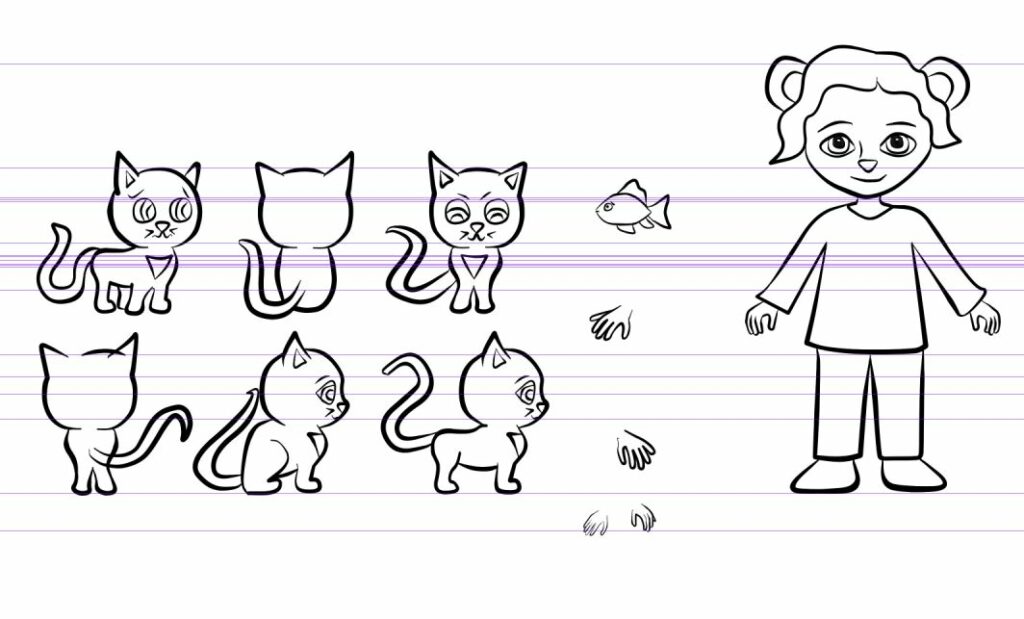
Character Turnarounds
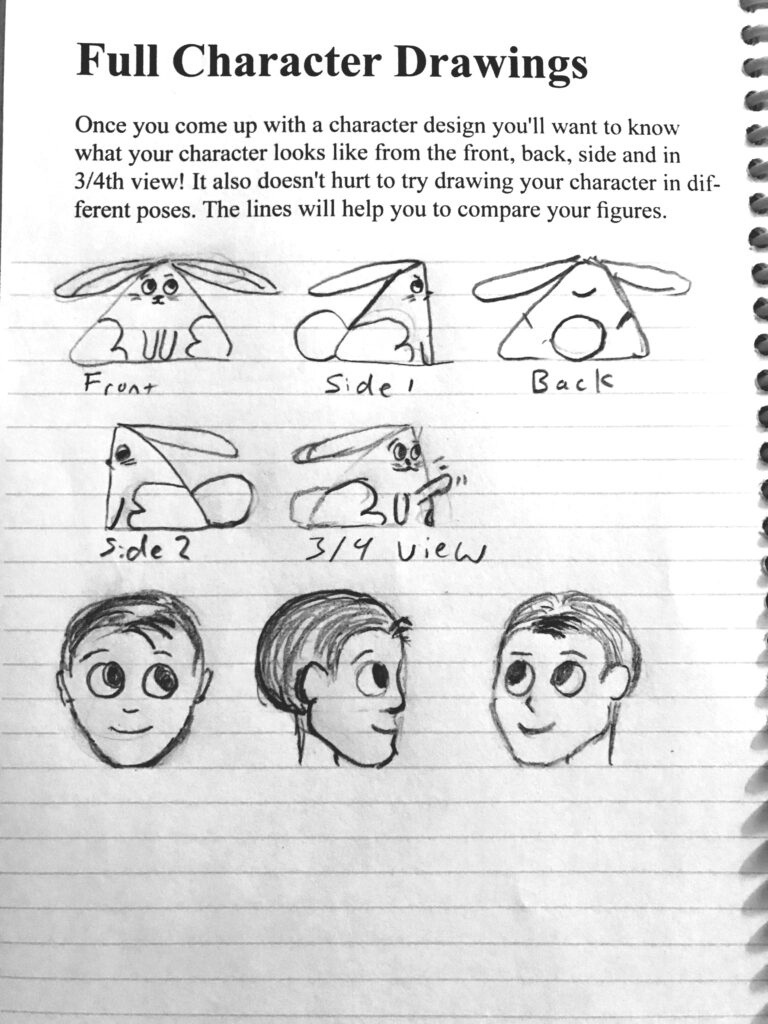
Some turnarounds for characters. Face is front side and 3/4th view. 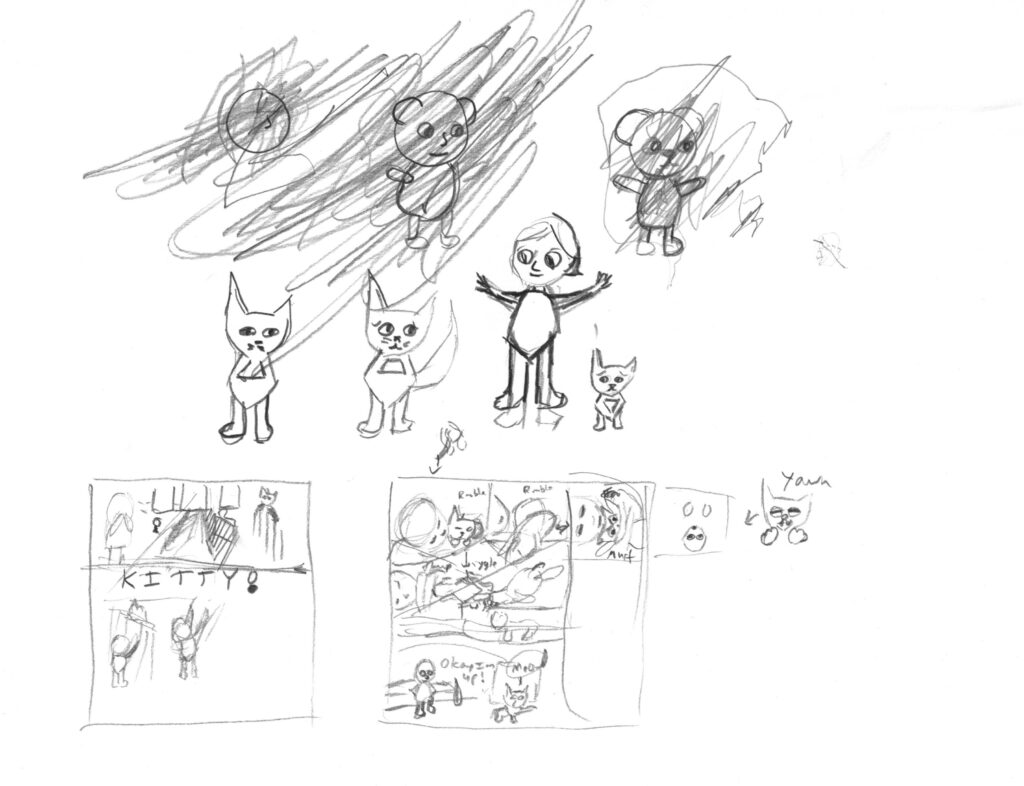
-
Simple Character Bodies

Different bodies for my lion head. 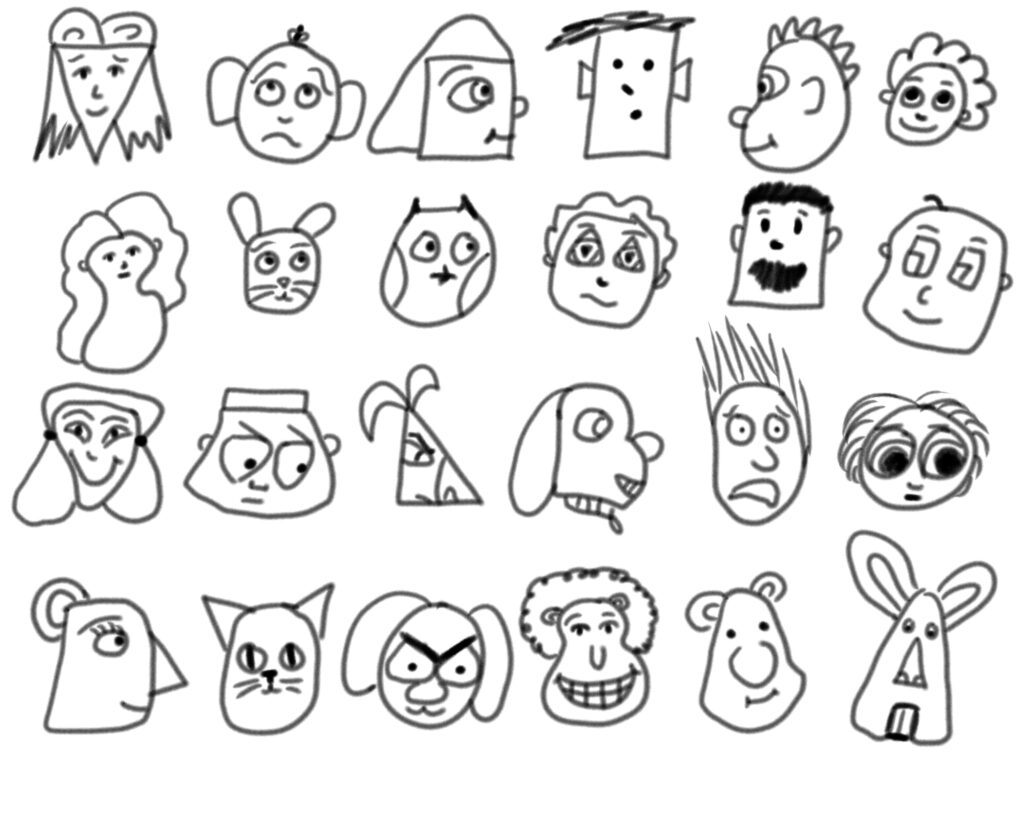
Head's from yesterday's video. Click here to see the post! -
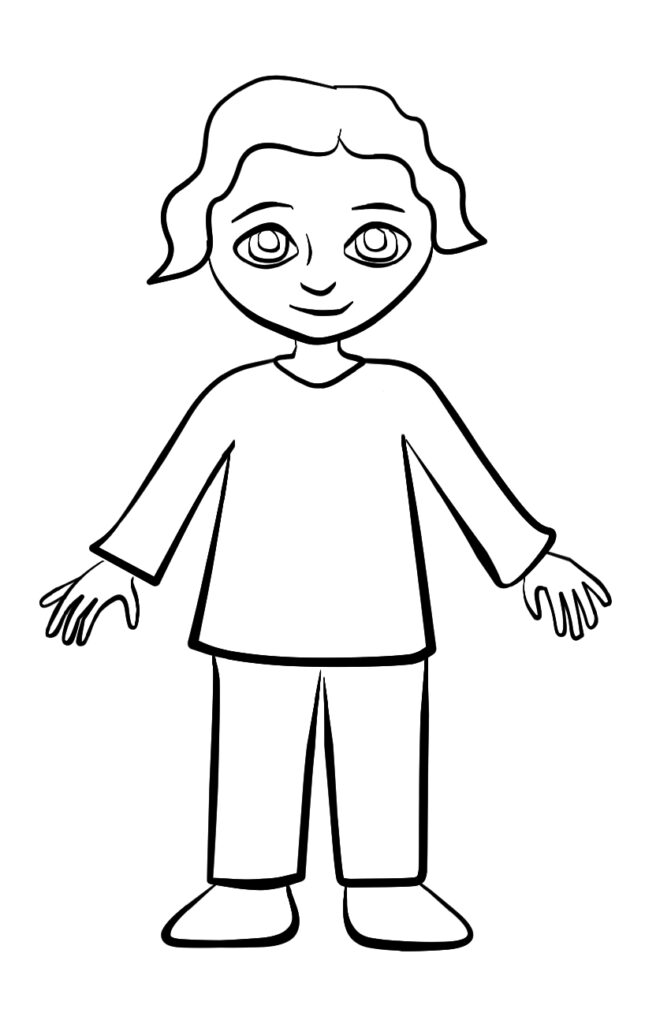
Simple Character Design
Images I drew for the Smart Dummies video see link above. -
Smart Dummies Week 1: Character Design